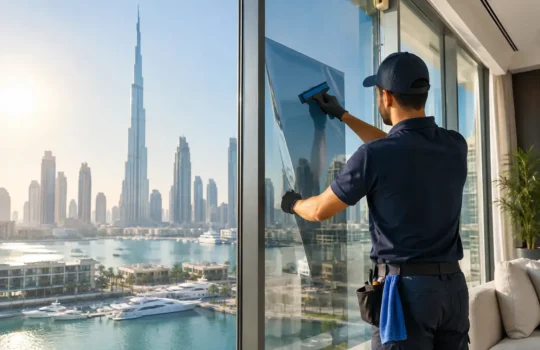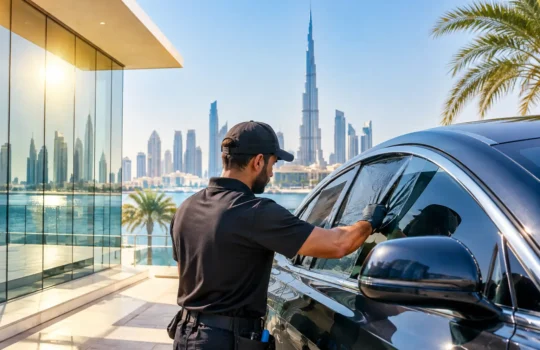
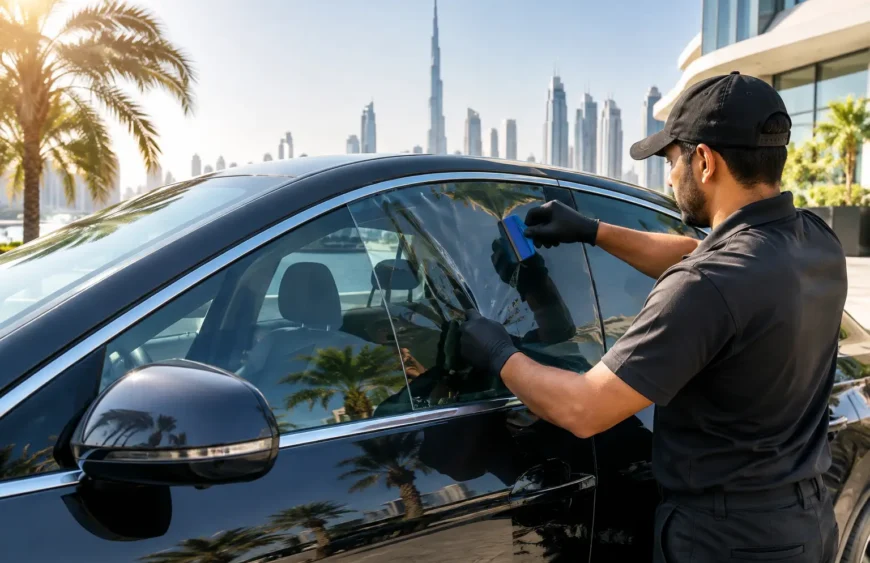
A newly tinted window can look slightly hazy, streaked, or dotted with small water pockets when the installer finishes. In most cases, that is not a fault. It is part of the drying process. This guide to tint curing times explains what is happening behind the glass, what you should leave alone, and when it makes sense to ask for an inspection.
Curing is not the same as installation. A professional installation can be complete in a few hours, while the mounting solution between the film and glass may need days or weeks to evaporate fully. In Dubai and across the UAE, strong sunlight can help this process, but heat, humidity, glass type, film type, and the application all affect the result.
What “curing” means for window tint
Most window films are installed using a water-based slip solution. This allows the installer to position the film accurately, remove air, and squeegee out as much moisture as possible without damaging the film. A small amount of moisture remains between the adhesive and glass immediately afterward.
As that moisture evaporates, the adhesive settles and the film becomes clearer. This is often called drying out or curing. Strictly speaking, the adhesive bond develops while the remaining installation moisture dissipates, but for customers, the practical point is simple: the film needs time before its final appearance can be judged.
During this period, you may see a mild cloudiness, a watery look, tiny beads, or faint streaks. These marks should gradually reduce rather than spread. They are especially visible when looking through the glass at an angle or toward bright daylight.
Guide to tint curing times by application
There is no single curing timetable that applies to every film. The following ranges are sensible expectations, not guarantees. A specialist should account for the actual glass, location, exposure, and installation conditions before confirming what is normal for your project.
Automotive window tint
For most vehicle tint installations, visible moisture typically clears within two to seven days in warm UAE weather. A darker shade may make remaining water marks easier to notice from inside the vehicle, but shade alone does not determine curing speed.
Avoid rolling down tinted windows for at least 48 to 72 hours unless your installer gives different advice. The film edges are most vulnerable before the adhesive has settled. It is also wise not to clean the inside glass during this period, especially with paper towels or ammonia-based products.
Rear windscreens can take longer because of the curved glass and ceramic dot matrix around the edges. Small areas of uneven appearance near dots or tight contours may be more noticeable initially. If you have chosen ceramic tint for cabin comfort, remember that its heat performance does not depend on the film being fully dry to start reducing solar load, but visual clarity will continue to improve as it cures.
Residential and villa window film
Flat-glass film on villas, apartments, and homes often needs two to four weeks to dry fully. Larger panes, shaded elevations, cooler air-conditioned interiors, and periods of high humidity can extend that timeline. Some installations can take longer, particularly where moisture has limited routes to evaporate.
Do not press on bubbles, lift corners, or try to push water toward an edge. That can crease the film, contaminate the adhesive, or create damage that was not present at installation. The right approach is to leave the glass undisturbed and allow the drying process to work.
For sun-exposed glazing, it can be tempting to assume the hottest window will cure first. Often it does, but direct heat is not always a benefit if it creates a very uneven temperature difference across the pane. This is one reason glass compatibility is assessed before installation. Solar-control film changes how glass absorbs and manages solar energy, so the right product depends on the existing glazing, frame system, shading, and exposure.
Office and commercial film
Commercial installations commonly cure in roughly two to four weeks, although large panes in heavily air-conditioned offices may take longer. Facilities teams should avoid scheduling routine glass cleaning immediately after installation. Cleaning staff should also be told that the film is on the interior surface unless the project requires a different configuration.
This matters for more than appearance. A metal scraper, abrasive pad, or harsh chemical can mark a new film permanently. Once cured, most films can be cleaned with a soft microfiber cloth, clean water or a mild non-abrasive cleaner, and a clean rubber squeegee.
If film has been installed to address screen glare, perimeter heat, or daytime privacy, the functional effect may be noticeable straight away. However, the final balance of visible light transmission, glare reduction, and outward appearance should only be assessed once the film has cleared.
Yacht and marine window film
Marine film curing can be less predictable. Yacht glazing may be curved, laminated, acrylic, polycarbonate, or another specialist material, and not every film is suitable for every surface. Salt air, condensation, vessel movement, and shaded mooring conditions can also affect drying.
For this reason, marine projects need an application-specific recommendation rather than a generic timeline. Do not assume that film suitable for standard automotive glass is suitable for yacht windows. Compatibility comes first, particularly where optical clarity, curved glazing, and material movement are involved.
What affects how quickly tint dries?
Ambient temperature is only one part of the picture. Warm conditions generally help moisture evaporate, but humidity can slow it down. Glass exposed to daylight may dry sooner than glass in a shaded room, while a heavily air-conditioned interior can keep an architectural installation damp for longer.
The size and shape of the glass matter too. Small flat vehicle side windows are usually faster than large villa panels. Curves, edges, ceramic frit patterns, and thicker glass assemblies can make remaining moisture more visible or slower to clear.
Film construction and installation method also matter. A decorative privacy film, a solar-control film, and a safety film may not behave exactly alike during curing. Smart Film is a separate category again: its electrical components, busbars, and controls require careful handling, and any post-installation guidance should follow the specific project instructions.
What is normal, and what needs attention?
Small water bubbles and light haze are usually normal while the film dries. They should become less noticeable over time. The same applies to a slightly mottled appearance that is only visible in strong reflected light.
A true air bubble is different. It often has a defined edge and does not change over several days. Dirt trapped beneath the film, lifted edges, creases, scratches, or a growing gap around the perimeter also deserve attention. These are not issues to fix yourself.
Take clear photos in daylight and note the installation date. Then contact the installer with the glass location and a description of what you can see. This gives them enough information to decide whether the issue is within the expected curing period or whether a site visit is appropriate.
Care during the curing period
The safest aftercare is uncomplicated. Leave the film alone, keep windows closed where relevant, and avoid cleaning until the installer’s recommended waiting period has passed. Do not attach suction cups, stickers, or accessories to freshly filmed glass.
For automotive tint, avoid lowering the windows and be careful when loading items that may rub against the inside glass. For residential and commercial film, tell cleaners, household staff, or facilities teams that the windows have just been treated. One well-intentioned cleaning pass can do more harm than a week of normal curing.
After the initial waiting period, use a soft microfiber cloth and gentle cleaning method. Avoid blades, scouring pads, and cleaners containing ammonia unless the film manufacturer and installer have specifically confirmed they are suitable.
Performance expectations after curing
Curing changes clarity, not the core purpose of the film. A properly selected solar-control film begins managing sunlight immediately, while a privacy or decorative film changes visibility as soon as it is installed. Still, performance should be understood in the right terms.
Total solar energy rejected, often referred to as TSER, describes how much overall solar energy a film can reject under stated test conditions. Infrared rejection may be useful, but it is not the same as total heat rejection because sunlight also contains visible light and ultraviolet energy. UV protection, glare reduction, visible light transmission, and privacy each answer different questions.
A darker film is not automatically the best heat-control choice, and a very light film may still offer meaningful solar performance. The right selection depends on the actual problem: harsh glare at a desk, fading near a window, cabin discomfort, daytime privacy, or excessive heat through large glazing.
If your tint still looks unclear after the expected curing window, ask for advice rather than making assumptions. A careful assessment of the glass, film, exposure, and installation conditions is the most reliable way to separate a normal drying phase from an issue that needs correction.